| An issue comes up from time to time with the VF500's the
deals with the tank valve (or petcock). These bikes will experience
problems where the engine just quits while riding. If you wait a few
minutes and crank it over it will eventually start. After a while
this progresses to the point where you can only ride for a few
miles. What's happening is that the fuel pump is overcoming the
vacuum force on the valve and causing it to shut off the fuel
supply. After the first time I had this happen I decided to modify
the valve to eliminate the vacuum all together. This modification
turns the valve into a straight ON-OFF-RES switch, of it's set to anything
else besides OFF fuel will flow. You'll never have that failure
again! |
|
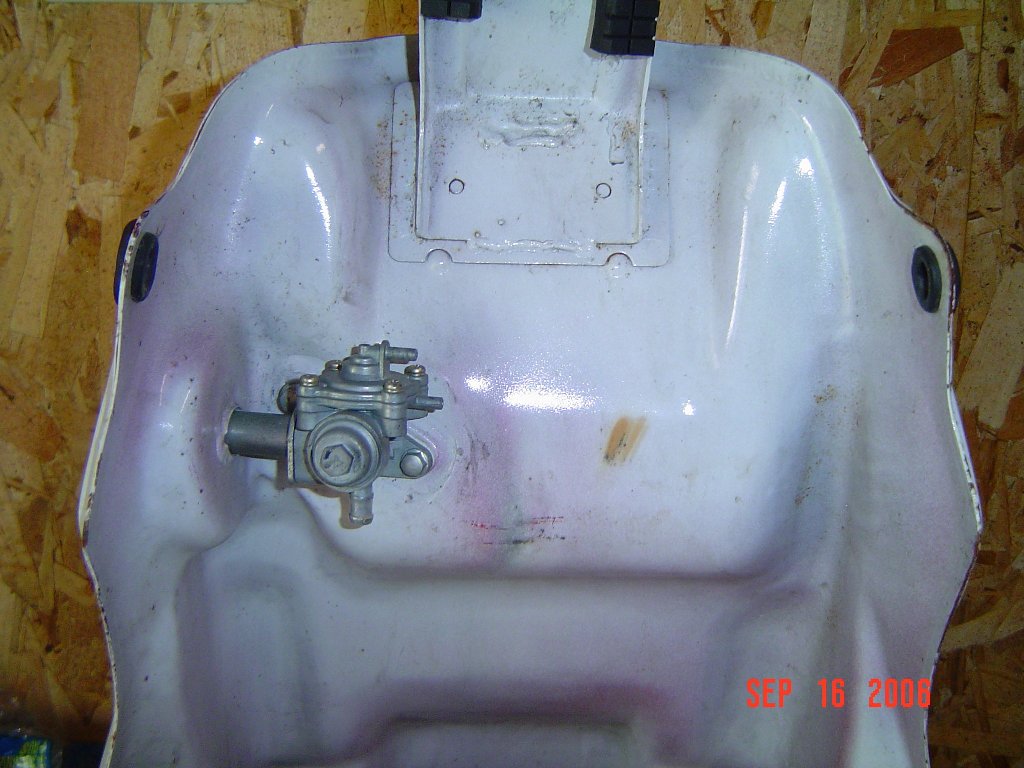
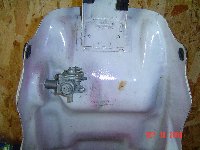
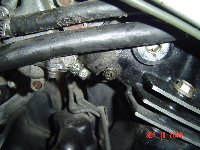
| Here is the underneath of the tank
after removal from the motorcycle. You can see the valve
mounted to the bottom.
|
|
|
|

|
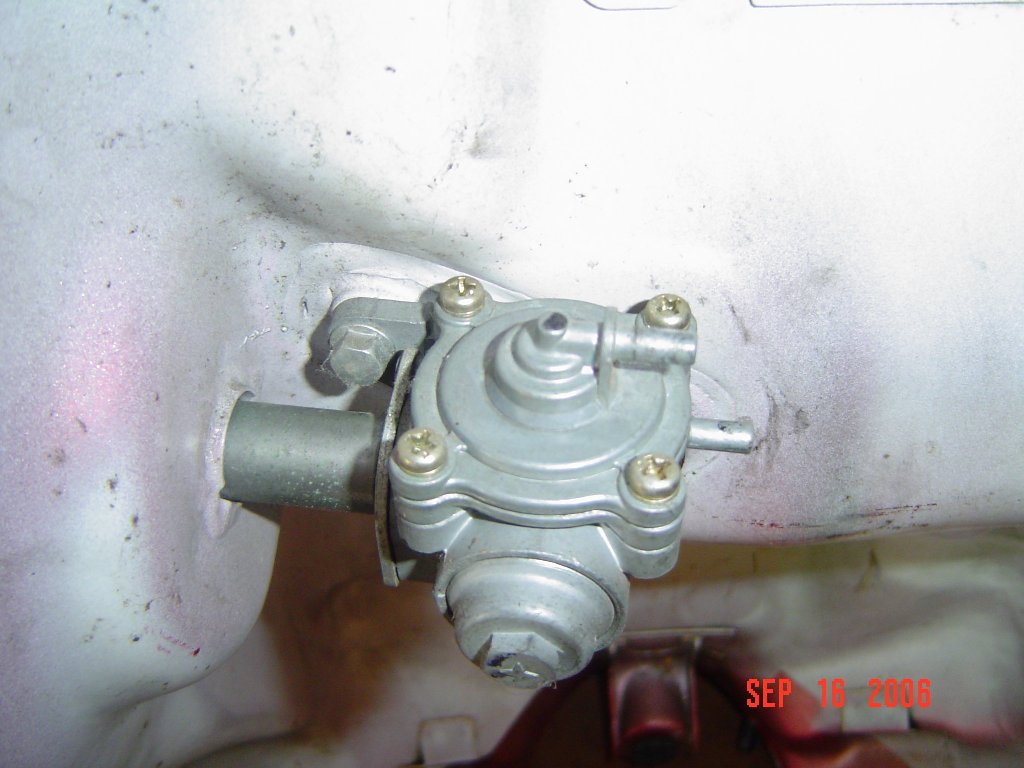
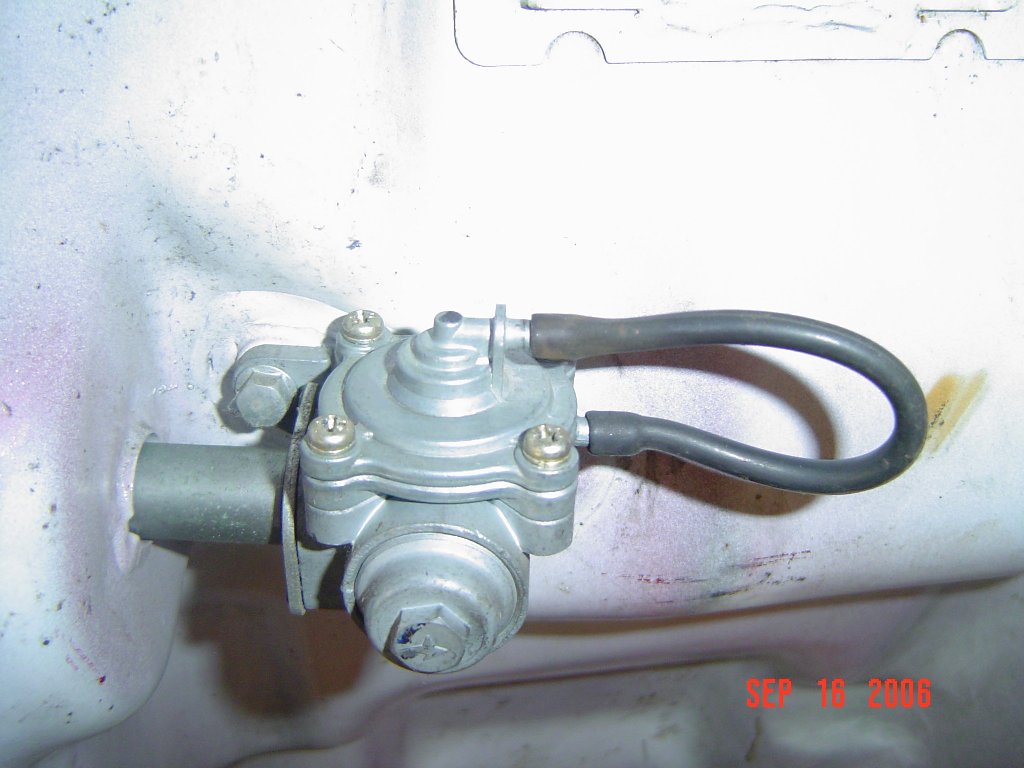
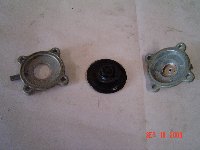
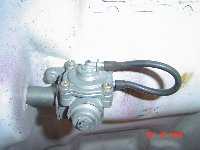
This is a close up of the valve itself. You can
see the vacuum port coming out of the center of the cover. On
the opposite side of this is the fuel outlet. The other small
barb is just a vent. The first step is to remove the four screws
holding the cover to the body.
|
|
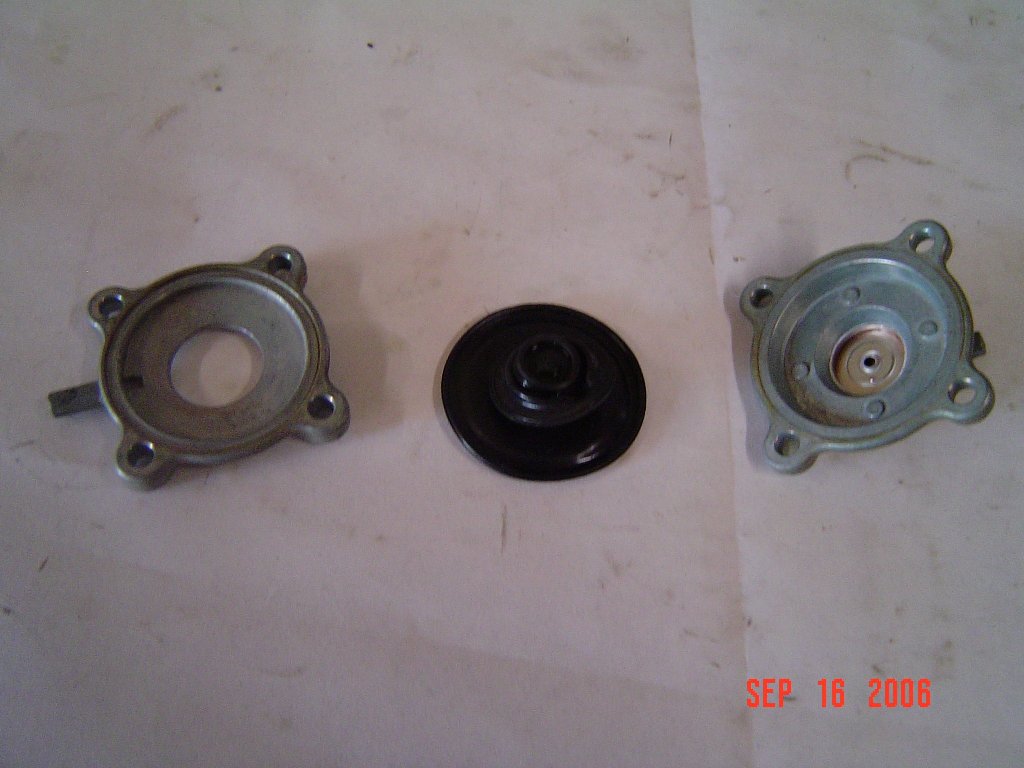
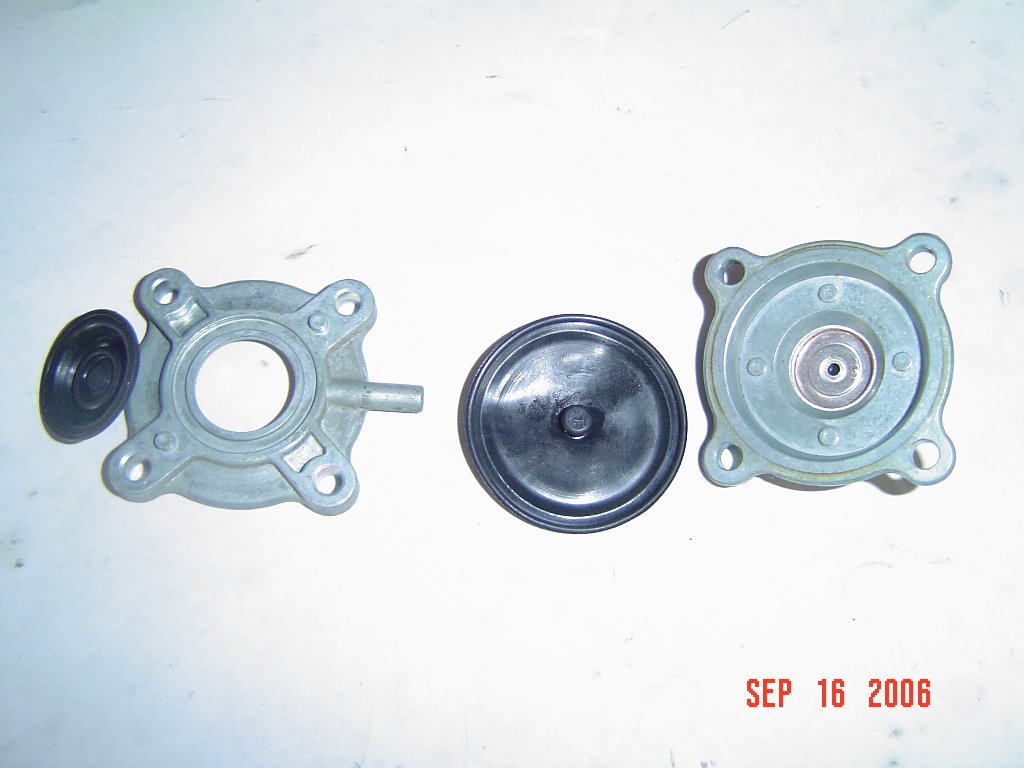
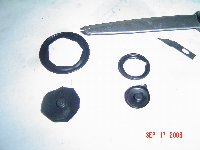
| Once apart this is what you'll find. The
diaphragm is several separate pieces pressed together. But I'm
getting ahead of myself...
|
|
|
|
|
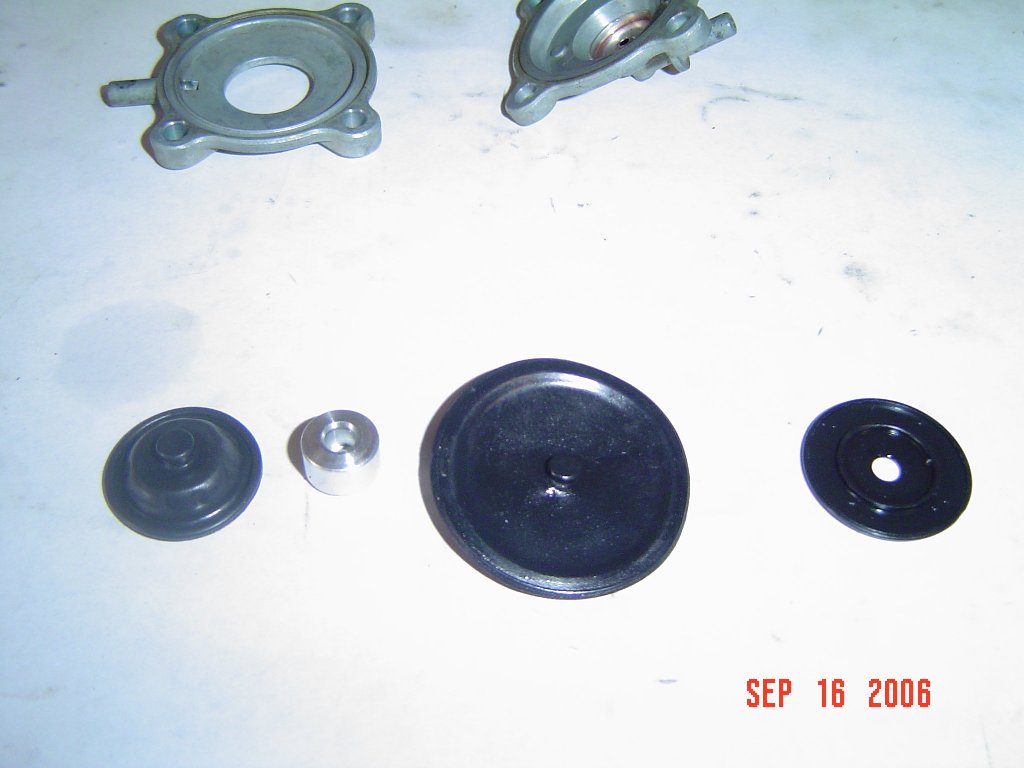
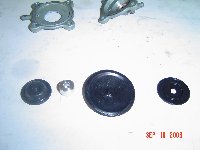
This picture shows the diaphragm separated. You
just pull the pieces apart. Be careful not to tear any of the
rubber parts, you'll need to reuse them.
|
|
|
The aluminum piece and the plastic part on the far
right of the previous picture can be removed. All that you will
have left are the two diaphragms. Here is the order they are
assembled in the cover.
|
|
|
|
|
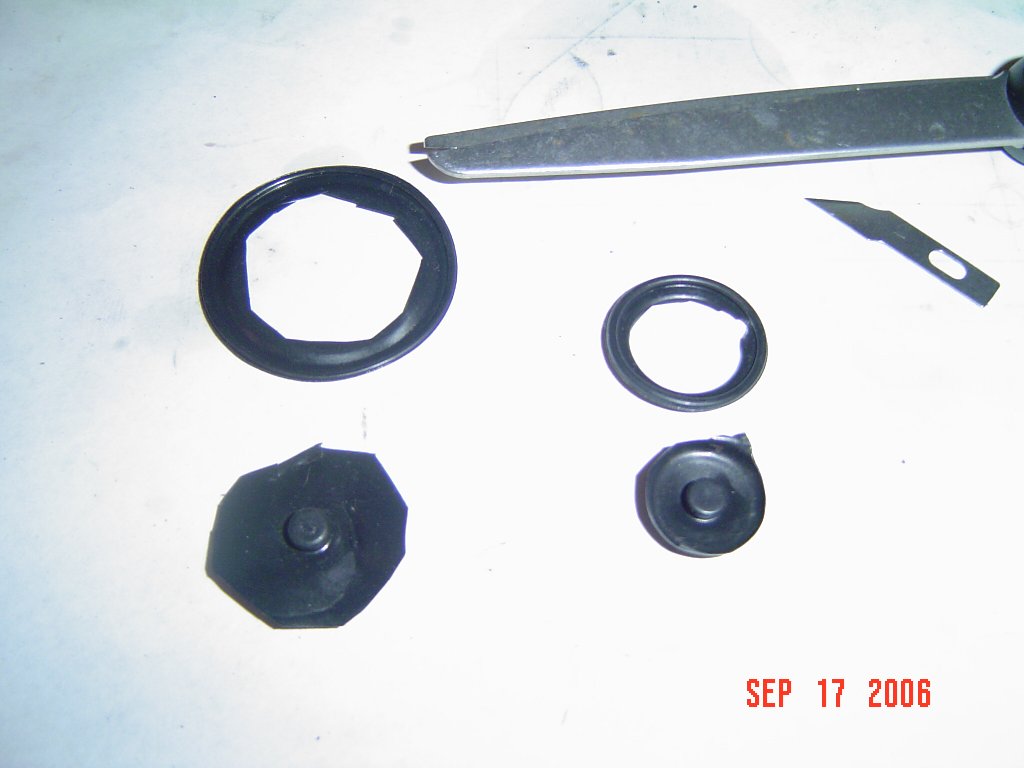
Now comes the fun part! You need to cut the
center out of both diaphragms. You need to be sure not to damage
the thicker outer portion. This is the seal for the valve
body. You are basically turning them into a couple of
o-rings. As you can see it doesn't need to be perfect. I
like to poke a hole in the diaphragms with a razor and cut the center
out with a pair of scissors.
|
|
|
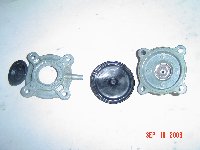
Carefully bolt the cover back to the valve body.
Be careful not to pinch the diaphragms. In this picture you can
also see a that a small section of the old vacuum hose has been used
to
connect both the old vacuum port and the vent port. This is
necessary because the diaphragms no longer isolate the fuel. You
can also use JB Weld to seal the holes.
|
|
|
|
|
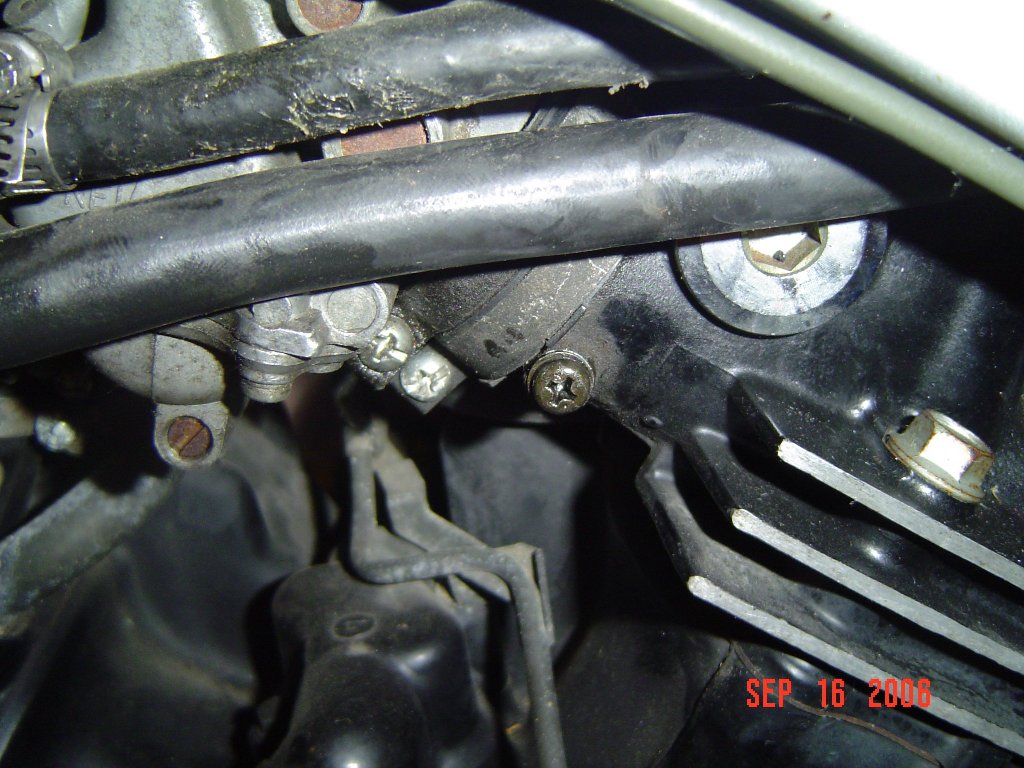
The last step is to plug where the vacuum line used to
connect to the rear head. I like to use a bolt with a sealing
washer under the head, but you can also use a vacuum port cap over the
stock barb. Make sure to get a good seal.
|
Here are some other points of interest:
- Do not forget that the valve is now fully
manual. If it's ON, fuel will run out. Some people
rely on the vacuum diaphragm to stop the fuel when removing the
tank. If you are in the habit of doing this, try to
stop. The fuel valve should always be turned to OFF when the
fuel line is removed.
|